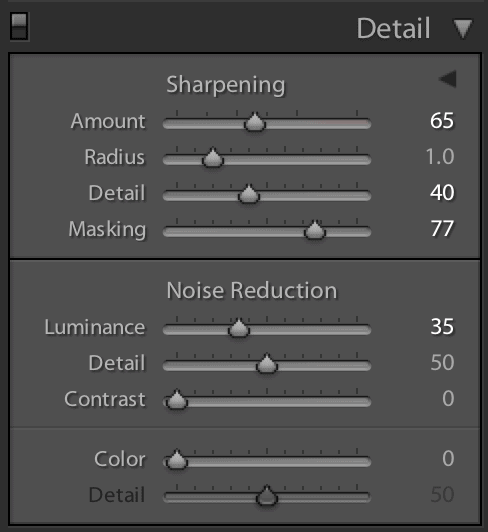
Learn how to correctly sharpen your image and make it standout from all others. Along the right hand side of Lightroom 5 you will see “Detail” and within this box you will find: Sharpening: Amount, Radius, Detail and Masking. So let’s explain how to best use each of these sections.
Amount – The amount of sharpening is the “intensity” of your sharpening, in other words how intense do you want the sharpening to be. If you go to the extreme right you will notice a high amount of artifacting “Blockiness”. Try pressing CMD on a Mac or ALT on Windows while adjusting the Amount, this will turn your image shades of grey making it easier to see where the blockiness is occurring.
Radius – Looks for the edges and adjusts how much to compress them. Try pressing CMD on a Mac or ALT on Windows while adjusting the Radius, this will mask your image (turn it grey) to allow easily editing along your edges.
Detail – Brings the detail in after sharpening.
Masking – Looks for the solid areas in your image and essentially removes the sharpening where it is not needed. Again try pressing CMD on a Mac or ALT on Windows while adjusting to easily see where the changes are taking place.
Luminance – Adjust to remove more of the sharpening.