Despite the digital photography trend, analog film’s charm remains irresistible. Kodak Portra 160 stands out among the various film types, particularly for portrait photography. Its unique blend of color saturation, fine grain, and versatility makes it a top choice for amateurs and professionals. This guide will dive deep into the depths of Kodak Portra 160, offering technical insights and creative tips for making the most of this beloved film. Check out our Lightroom Film Emulation Collection Here.
The Characteristics of Kodak Portra 160
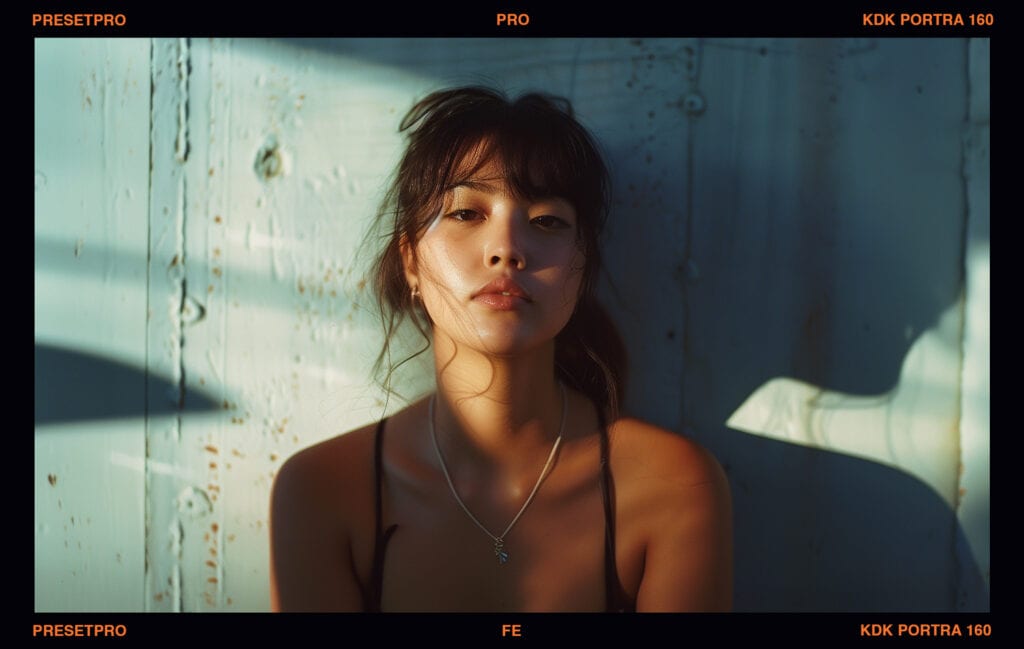
Kodak Portra 160 is designed with portraits in mind. It features an excellent grain structure and delivers natural and subtly vibrant colors, making it superb for capturing skin tones accurately and beautifully. The film offers a wide exposure latitude, which allows for capturing details in both shadows and highlights, a feature particularly useful in natural light.
- Color Rendering: Portra 160 is celebrated for its color fidelity. The colors produced are not overly vivid, which helps achieve a more realistic portrayal of the scene and subjects.
- Grain Quality: With one of the finest grains in its class, Portra 160 ensures smooth transitions in tone and color, enhancing the image’s overall softness without loss of detail.
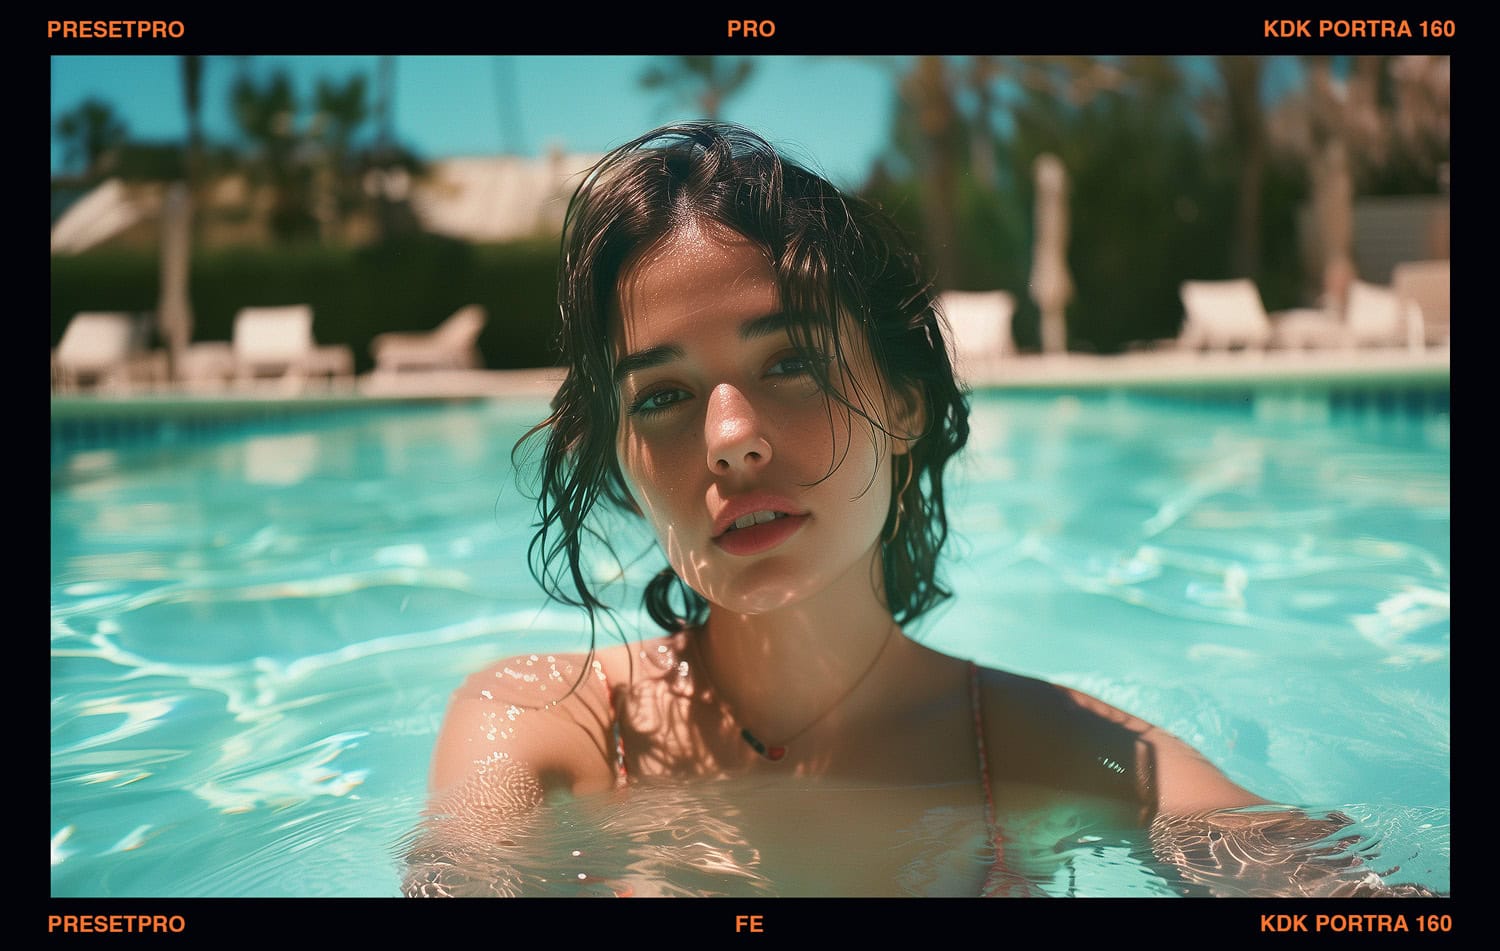
- Exposure Latitude: The film can handle various lighting conditions with ease. Overexposure and underexposure can both be utilized creatively without significantly degrading image quality.
Technical Details
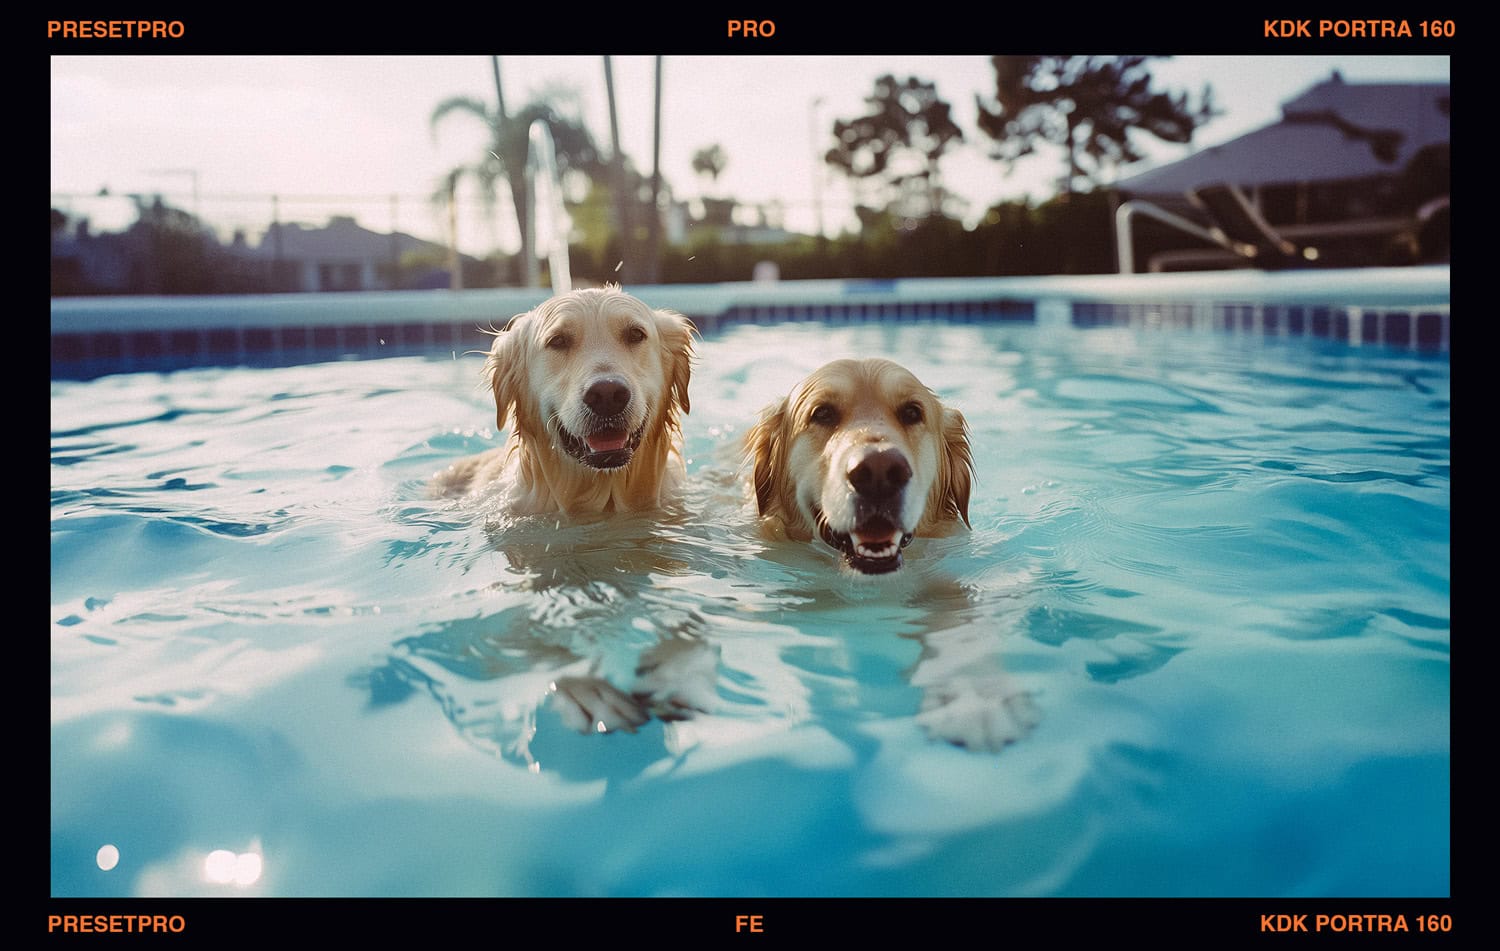
Kodak Portra 160 has a low ISO rating and produces fine grain, vibrant colors, and excellent skin tones. However, to get the most out of it, it’s essential to understand its technical aspects, such as its exposure latitude, color balance, and contrast. With this knowledge, you can adjust your camera settings and lighting conditions to achieve the desired results.
- ISO 160: Best used in daylight or with controlled studio lighting. The lower ISO means more light is needed to expose the film correctly, but it also contributes to the finer grain.
- Flexibility: While it is an ISO 160 film, many photographers successfully push it up to ISO 400 to shoot in lower light conditions, adjusting development times accordingly.
Comparison with Other Films
Compared to its sibling, the Kodak Portra 400 or the discontinued FujiFilm Pro 400H, the Portra 160 offers subtler tones and finer grain, preferable for lighter, more controlled settings. Portra 400, while more versatile in varied lighting conditions, has a slightly grainier appearance.
Developing and Scanning
Developing Kodak Portra 160 should ideally be done using the C-41 process, the standard for color-negative film. When scanning, ensure the scanner settings are adjusted to retain the film’s characteristic softness and color accuracy.
Lightroom Presets that Emaulate Kodak Portra 160
Lightroom remains one of the most popular tools for amateur and professional photographers to edit and manage photo libraries. Thanks to its comprehensive set of film emulation presets and profiles, it’s beneficial for those who want to recreate the analog film look through digital photos. Emulating Kodak Portra 160 in Lightroom can bring a touch of this classic film’s aesthetic to your digital work.
Finding Kodak Portra 160 Presets for Lightroom
Many photographers and preset creators have developed versions of Kodak Portra 160 emulation presets. These can usually be found on digital marketplaces or through photography resource websites. Presets vary slightly in color and contrast to mimic the Portra 160 look, so trying a few different ones is worthwhile to see which best matches your vision.
How to Use Lightroom Presets for Portra 160 Emulation
- Download and Install Presets: After purchasing or downloading free presets, install them into Lightroom. This usually involves importing the preset files into the Lightroom preset panel.
- Apply the Preset: Load the photo you wish to edit in Lightroom and apply the Portra 160 preset from the presets panel. This will instantly change the color profile of your photo to mimic Portra 160.
- Adjust Settings: Modify the preset settings if necessary. Adjust sliders for exposure, contrast, highlights, shadows, clarity, and saturation to refine the film-like effect.
- Fine-Tune the Colors: Since Portra 160 is known for its superb color rendition, spend some time tweaking the color balance and HSL (Hue, Saturation, Luminance) settings to get the colors right.
- Add Grain: Lightroom also offers a grain tool to add a film-like texture to the image. Adjust the grain size and roughness to match the fine grain of Portra 160 as closely as possible.
- Save Your Custom Preset: If you’ve made a lot of adjustments and are happy with the new look, save it as a new preset. This can be applied to other photos to achieve a consistent style across your portfolio.
Capture One Film Emulation Presets for Kodak Portra 160
While Lightroom is a popular choice for many photographers, Capture One offers robust tools and presets that are especially good at emulating the distinctive look of film stocks like Kodak Portra 160. Capture One is known for its superior color handling, which makes it an excellent platform for achieving the nuanced color palette of Portra 160 in digital photography.
Conclusion
Kodak Portra 160 is a type of film that can create stunning and timeless portrait photography. Its images have a classic and understated beauty that is difficult to achieve with digital photography. Whether an experienced film photographer or a digital photographer interested in trying out film, learning about and using Portra 160 can add a valuable dimension to your photographic work.
FAQs about Kodak Portra 160
Q: Why is Kodak Portra 160 perfect for portraits?
A: Kodak Portra 160 is engineered for accurate skin tone reproduction, which makes it ideal for portraits. Its fine grain helps capture detailed, smooth textures flattering in portrait photography, while its color palette ensures natural and gentle hues.
Q: Can Kodak Portra 160 be used in low-light conditions?
A: Portra 160 is best suited for good lighting conditions due to its lower ISO, but it can be pushed up to ISO 400 with excellent results. This involves adjusting the film’s exposure and development process to compensate for less light.
Q: How does pushing the film affect the final image?
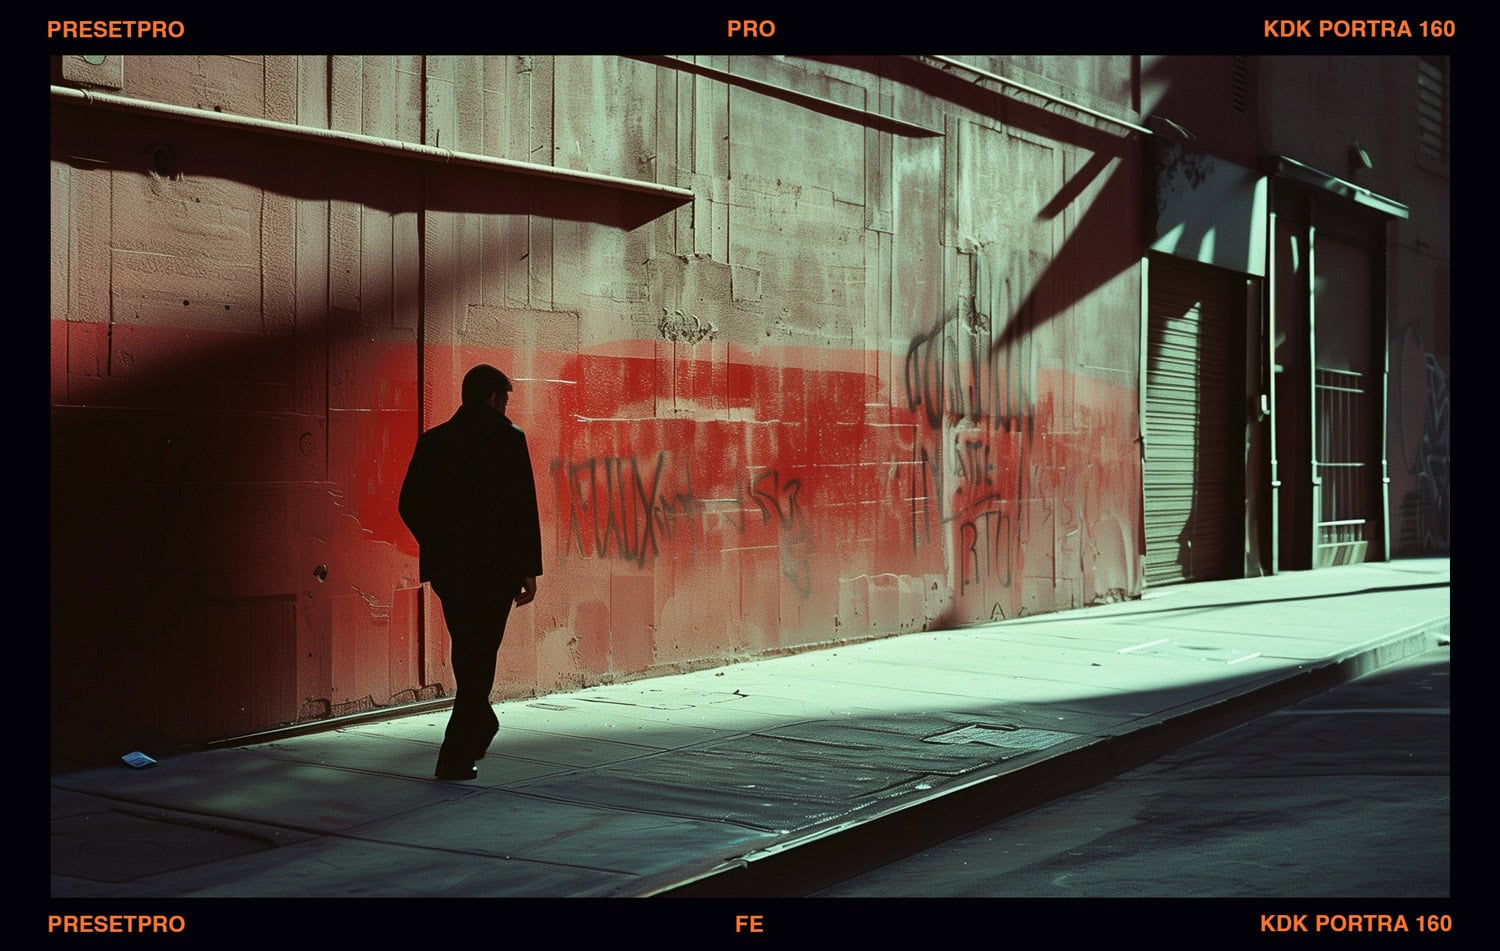
A: Pushing the film generally increases contrast and grain. When you push Portra 160, you might notice a slight increase in grain and more pronounced colors, which can be beneficial for creating moodier images.
Q: Is Portra 160 suitable for other types of photography besides portraits?
A: Absolutely! Although optimized for portraits, its wide exposure latitude and excellent color balance make it versatile enough for landscape, street, and event photography.
Q: What is the best way to scan Kodak Portra 160 for optimal results?
A: To retain the film’s characteristic look when scanning, use a high-quality scanner and adjust settings to avoid over-sharpening and excessive contrast. It’s often recommended to scan at a higher resolution and then apply any corrections post-scan to maintain the integrity of the film’s natural look.
Q: How should I store Kodak Portra 160 before and after use?
A: Keep unused rolls of Portra 160 in a cool, dry place away from sunlight. For best results, refrigerate the film until use. After shooting, it’s a good practice to process the film as soon as possible, though Portra films generally have good latent image stability.
Q: Where can I find Lightroom presets that emulate the Kodak Portra 160 look?
A: Many photographers and preset creators offer Lightroom presets designed to emulate the look of Kodak Portra 160. These can typically be found on photography resource websites, professional photographers’ blogs, or digital marketplaces like Presetpro.com

Lightroom Presets

Lightroom Presets
Lightroom Presets
Lightroom Presets
Lightroom Presets

Lightroom Presets
Lightroom Presets
Lightroom Presets